

10/19-23/2015 Summary:
 This was a short trip to the boat to check out the new enclosure, figure out what to do with our unpaintable anchor pulpit, have new batteries installed, plus a few other odd chores.
We are extremely satisfied with the new enclosure! The new O’Sea glass is so clear it is almost as if there is nothing there. All the “smile” openings hook up to the enclosure top with no rolling necessary, and the 2 “frowns” roll down, sitting nicely on the teak behind the dash.
And we were the first boat to have a laser fit enclosure by Schrimsher Yacht Canvas. Thanks Steve and Nancy! We also had dinner with Steve and Nancy to pick their brains about The Loop trip they did in their DeFever 44, Salty Turtle, several years ago. Got some very helpful information we can put to use during our 5,000-mile journey
We had scheduled with Treasure Coast Battery to replace the batteries. Two guys showed up with 8 new batteries and within an hour, they had the old ones removed and the new ones installed, all for a mere $100 installation fee. (Tom thought it was worth every penny!)
So other than installing the anchor pulpit later (temporarily), this trip got us ready to move from Stuart and head toward clear water (which we have not seen since we were on the west coast of Florida). Though the slip is reserved through the end of November, we hope to move sometime before then.
This is where you stop reading, unless you are interested in the details. Thanks for stopping by!
 Details: The new enclosure gives the boat a really different look with the windshield gone,
but one we really like, though some may say it took away the traditional DeFever look. The 2’ extension out the front provides some additional late afternoon shade. Steve did an awesome job of following the lines of the boat, and the attention to detail is fantastic. The combination of the Stamoid material (which is almost vinyl-like) and the O’Sea glass, plus the fact that the entire enclosure is now inside the frame by about 6 inches, provides a very clean look. Every section simply zips out if needed, and the top is laced to the new frame so snugly that barring a force 4 or 5 wind, it should never need to be removed. We still have a lot of old snaps to remove from the old top.


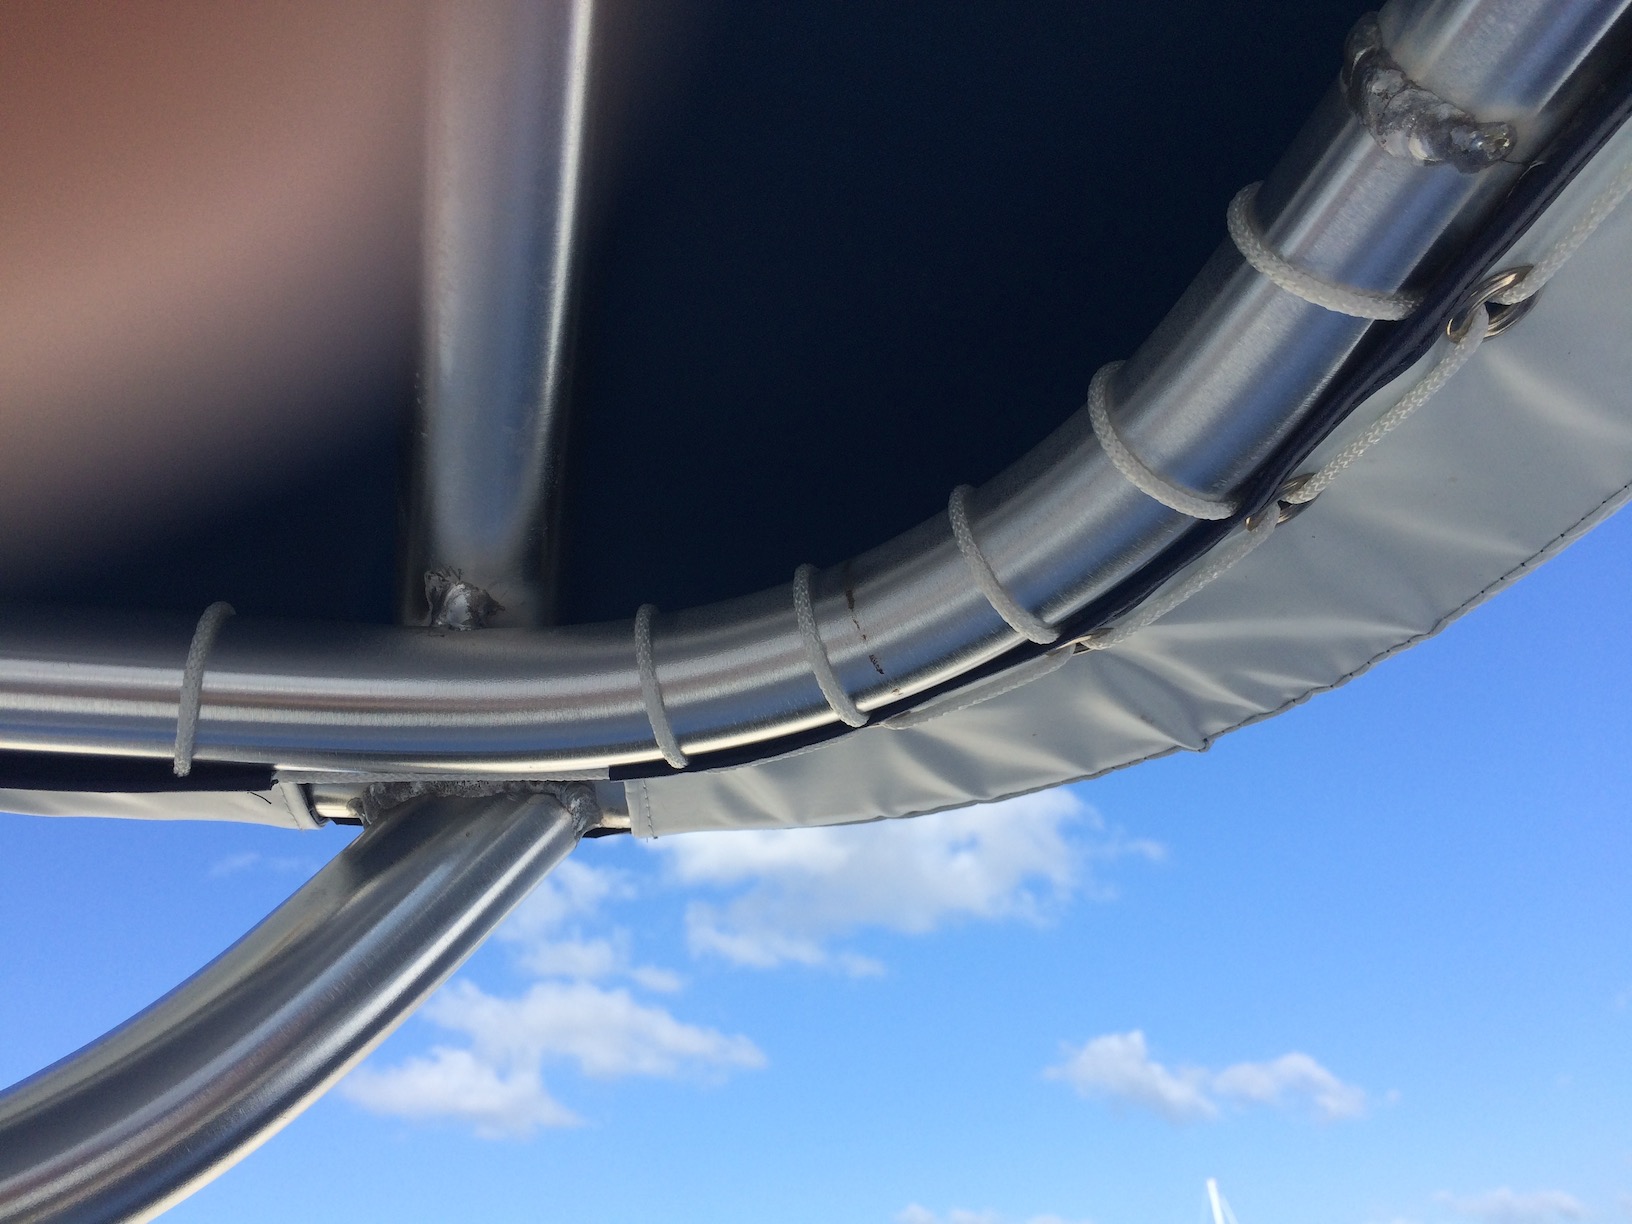
Tom spent a couple of hours at Jeremy’s shop getting the stainless steel insert welded for the anchor chain slot on the bow pulpit. He also talked to the paint guy at Home Depot who told him he could paint the bow pulpit after letting the treated beam “cure” for just 60 days (not the 6 months he had previously been told). So Tom will install it temporarily while it cures, remove it later to paint, and then reinstall it permanently. (Well, permanently from our perspective.
 The next morning we went about the task of making the boat look a little less like a construction site. Most everything moveable on the flybridge had been moved to the sundeck, barely leaving a path to the door. We got most of the stuff back to its home on the flybridge. We cleaned up so well we invited Steve and Sue from Peregrine, a sailboat down the dock, over for dinner. (Steve helped Tom move the boat back and forth from the maintenance marina and gave him a hand removing the old anchor pulpit.) Amazingly, we figured out this was the first time we entertained people for dinner (other than the previous owner, once) since we bought the boat 18 months ago.
We spent a good amount of time on what seems like the never-ending inventory project. We got the flybridge, dinghy deck and bow storage areas completed, as well as the laundry room.
 Then two guys from Treasure Coast Battery came to install the new batteries – 8 60-pound 6V golf cart batteries that sit in a box outbound of the engines. They made quick work of moving 960 pounds of batteries, including all the connections, and we got 5% off the total bill just for mentioning their website.
Before we called it quits for the day, we started patterning the old canvas for the flybridge dash cover, which no longer fit due to the removal of the windshield. We are hoping to just modify the old one and install a few new snaps to allow it to cover the electronics and front seats. Thanks to the new enclosure, it no longer needs to fit tightly and repel water. Since the sewing machine on the boat will not handle the canvas, it will take a couple of trips home to get it finished.
Dear Tom and Paula,
You two truly inspire me. I love reading up on your adventures. I am continually reminded how amazing you are Tom as every project you take on is professionally done. Paula you are incredible as well. What a team you make and the best part is your heart for the Lord. Thank you for your example in Christ!
Happy TraVails!
Brian
I hope we get Blue Ghost to Clearwater and beyond in early December
Hope to tie-up alongside
All The Best
/s/ C Flack
Success!… lot of “sticktutiveness” required there.
Lookin’ great… am
Your making me anxious, get to Clearwater already. Sale sailing
Bob