
9/15-22/2015 Summary: ![]() Tom headed down to the boat to move it back from the maintenance marina to Sunset Bay Marina and work on the anchor pulpit. However, when he arrived at the boat, he had an email from Steve Schrimsher, the canvas guy, asking him to call about an “issue” with the frame. Seems there was a misunderstanding on how the tubes that would support the enclosure sides were to be installed (red arrow in picture to right). As a result, two of the cross-members had to be replaced, along with the support tubes.
Tom headed down to the boat to move it back from the maintenance marina to Sunset Bay Marina and work on the anchor pulpit. However, when he arrived at the boat, he had an email from Steve Schrimsher, the canvas guy, asking him to call about an “issue” with the frame. Seems there was a misunderstanding on how the tubes that would support the enclosure sides were to be installed (red arrow in picture to right). As a result, two of the cross-members had to be replaced, along with the support tubes.
But of course the weather did not cooperate and delayed things a few days. Tom took the extra time to work on the list. Since it rained most of the time, his work was focused on inside projects, like door clasps, fixing the lights on the main stateroom headboard, “exercising” and lubricating the thru-hull valves, and fixing a small fuel leak on one of the engines. None of it was much fun, but all needed to be done. He also became the “Sight Glass Ball Guy” on the DeFever Forum.
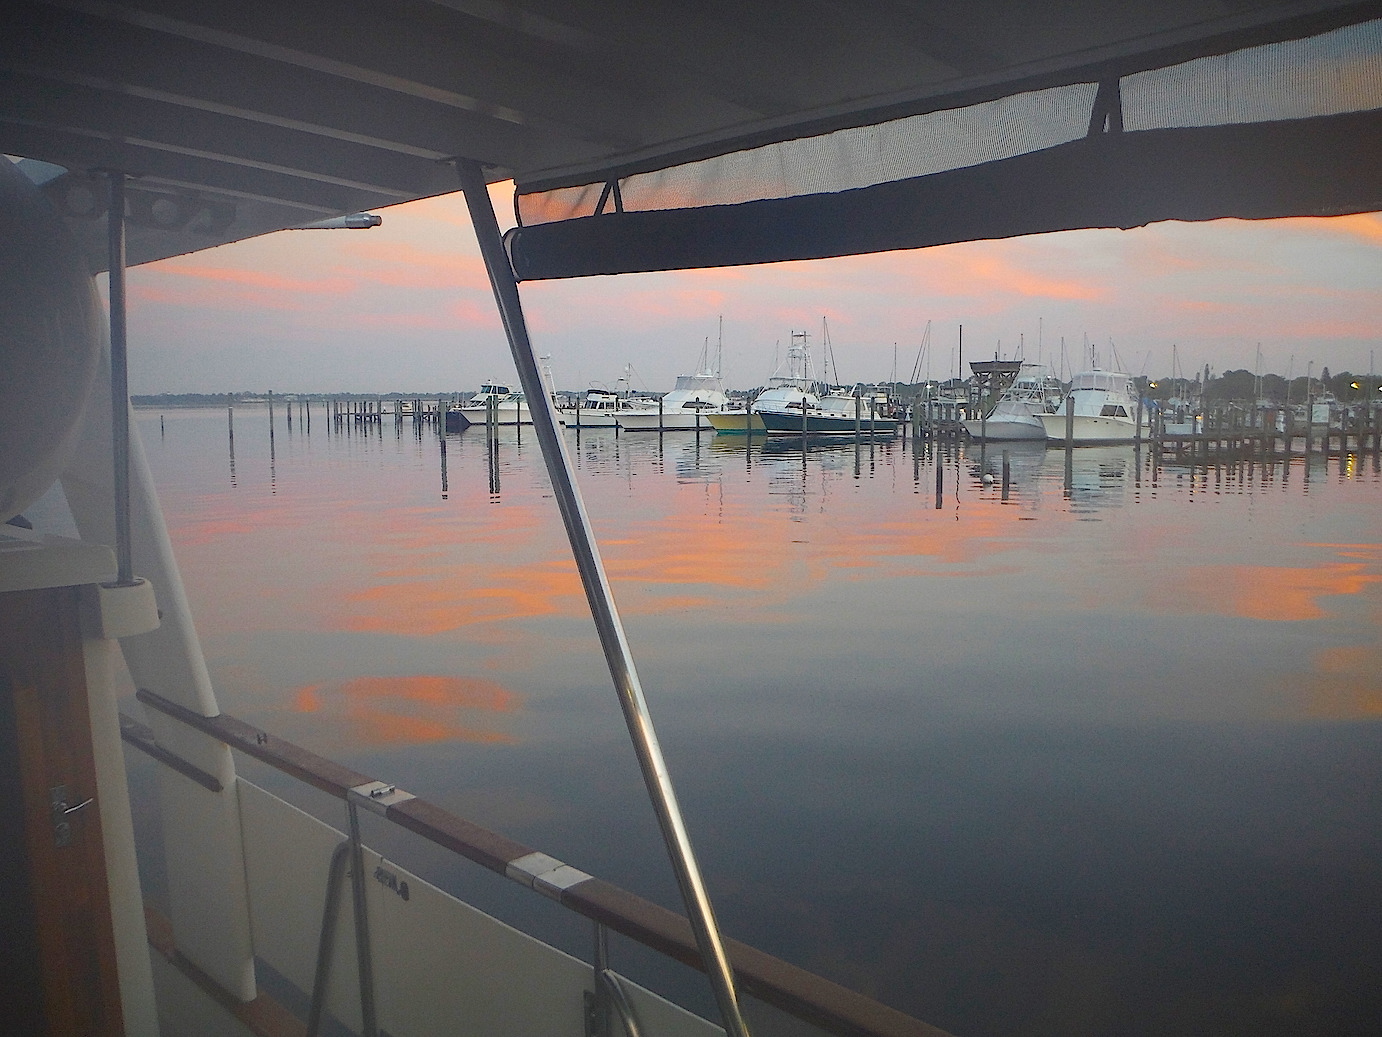 On Friday, Jeremy, the frame fabricator, removed the necessary tubes and went back to his shop to shape the replacements. Saturday was a beautiful day (picture, left) and by sunset, the corrected tubes had been re-welded in place and all was well.
Monday, with Jeremy and Steve’s help (a different Steve from Sunset Bay), Tom motored the boat back to Sunset Bay Marina. It was nice to be back on floating docks at a “real” marina.
Before he left on Tuesday morning, Tom had time to run the wires for and mount 3 LED lights on the new frame. It was a bit of a project (which involved cotton balls and fishing line and had him working in the dark), but they worked right the first time!
This is where you stop reading unless you are interested in the details. Thanks for stopping by.
Details:
Steve Schrimsher came over soon after Tom got there to look at the frame. The misunderstanding was on how the final piece of tubing (where the track for the enclosure would be attached) was to be aligned. It was supposed to be lined up to provide a continuous line for the track; unfortunately, Jeremy had offset each piece by the width of the tube.
 The good news was (to his credit), Jeremy stepped up, no questions asked, and fixed it. He had to remove 2 of the cross-members and all of the curved pieces, order new tubes, cut and shape them, and weld them in place. He initially bent the tubes in his shop, then gave them the final touch in a bender mounted on the front of his truck (right). By the time he was done, you can hardly tell anything was ever amiss and Tom told him, “It’s fixed – no harm, no foul.” (And the even better news was the marina did not charge us for spending an extra week there!)
That all happened on Friday and Saturday because it rained almost continually from Tuesday evening through Thursday around noon. But it was not like there weren’t things for Tom to do.
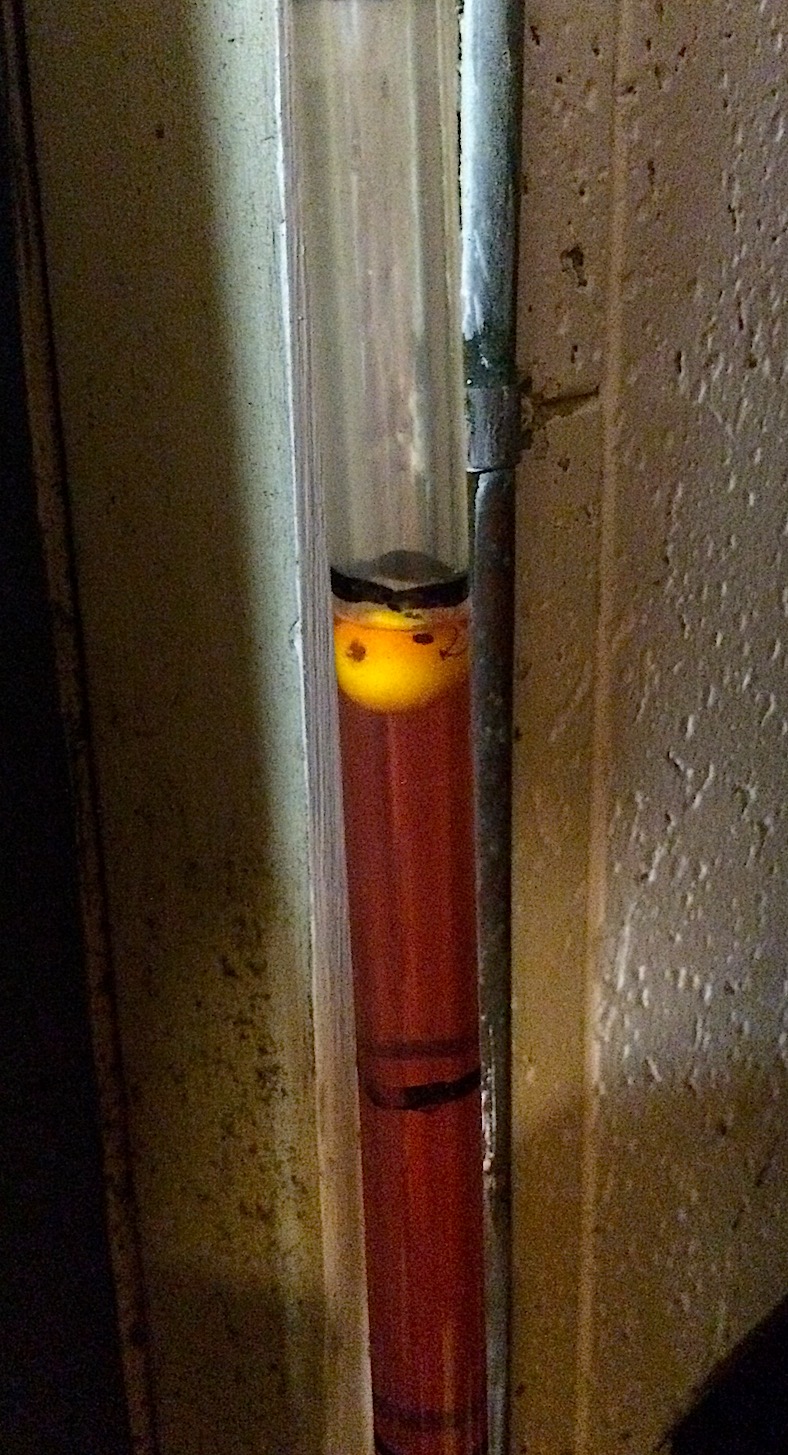 One of those projects was replacing the sight glass tubes on both the fuel and water tanks. The sight glass tubes (not really glass but plastic), show the level of the fluid in the tank. The problem was, especially with the water, it was hard to see the fluid in the tube. One of the members of the DeFever Forum had suggested getting a little float of some type, but was unable to find any that would fit. Tom found some wooden balls at a craft store which worked perfectly. (If you look closely at the picture to the left, you will see the balls have little smiley faces on them.) He shared his find on the forum and offered to send some to anyone who wanted them since they came in a package of 23 and he only needed 4. He got so many requests he had to buy 2 more packages and ultimately sent out 16 sets. One of the recipients tagged him, “The Sight Glass Ball Guy.”
He also “exercised” and lubricated the thru-hull valves. Valves not exercised (open and closed) once in a while, freeze up not allowing them to be closed if needed. Bad deal because they are below the water line. Need I say more? All but one of them worked fine, but one was a problem. The lever that rotated the “plug” in the valve broke off. Not good! The good news was, after a call to the valve maker, it turned out the spare we had would fit.
 Once the sun came out, the work on the anchor pulpit replacement started. The first step was to replace the small piece of hull right at the bow that broke off when the pulpit broke. Fortunately Tom had caught the piece before it went for a swim, so all he needed to do was epoxy it back in place. He drilled a couple of holes through it and placed studs in it to keep it aligned while the epoxy cured. Then some of the dry rot had to be removed, and the entire area sealed with resin and reinforced with fiberglass. The next step would be to fill in some of the voids before fitting the new beam. But Tom did not have time to get to that.
After the frame was reworked, the job of running wires for the lights on the frame started. Jeremy had cut holes where all the cross-members met the side supports, in the uprights supporting the structure, and in the fiberglass where it attached to the side of the flybridge, just in case we wanted to run wires through the structure. It was not in the original plan, but we decided to put some small LED lights (two white and one blue for night running) in one of the cross-members. That required running the wire 8 feet across the top, a slight jog aft, then down the side support and through the fiberglass. The holes were there, but getting the wire through them was a different matter.
That was where a cotton ball and fishing line came in, a tip from Jeremy. Tom drilled a hole where he wanted to run the wire, and then tied a cotton ball to the end of a lightweight fishing line. He put the cotton ball in the hole, placed the shop vac hose over the hole where he wanted the wire to come out, and turned it on. Viola – it sucked the cotton ball and line right through the pipe! Then he used the fishing line to feed a larger line through to pull the wire. Since there were 6 wires to run, it got a bit cramped, but it worked.
Once the wires were run, installing the switch in the glass-covered dash and mounting the lights was simple. They will be a nice addition to evenings on the flybridge.
Tom headed home a few days early, planning to return to finalize the layout of the canvas enclosure in early October.
Hi Tom and Paula,
Anxious to read about your continued adventure.
Toms new skill SHIP BUILDER. He must be a disciple. Can he also fish?